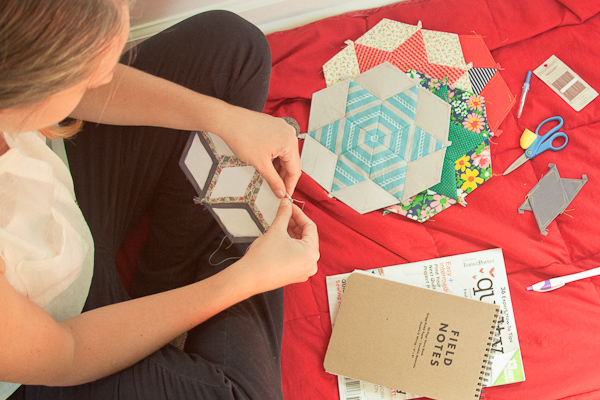
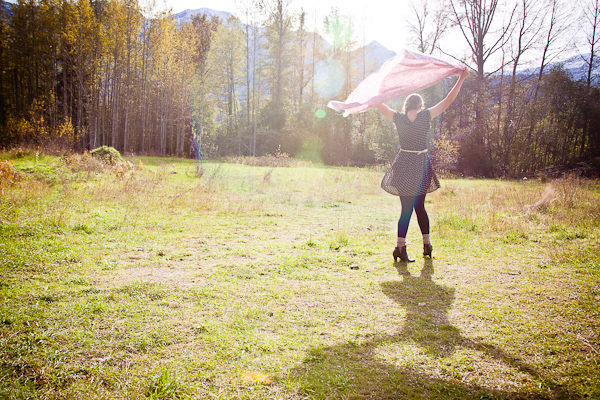
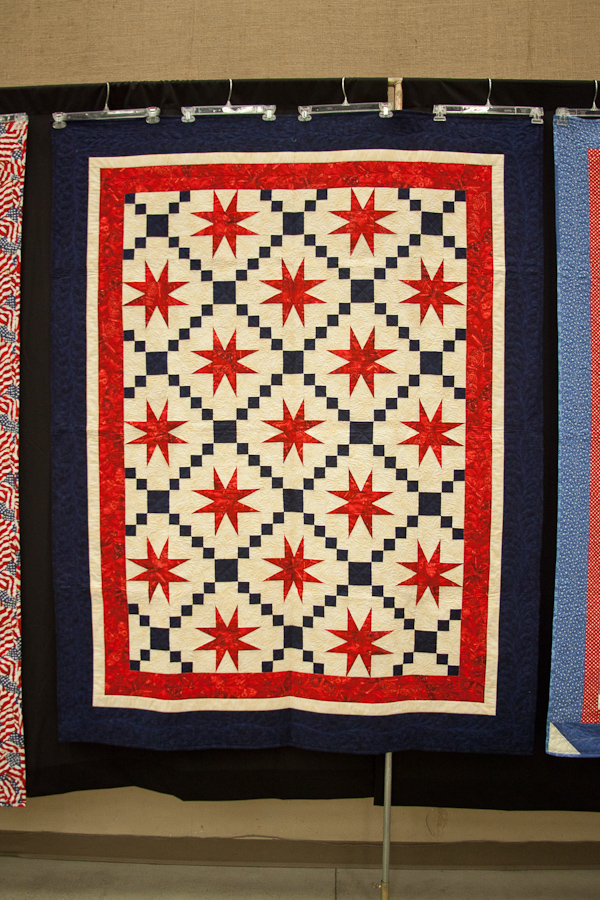
I was so excited to read that Plum and June are hosting a new monthly Quilt Photography Workshop linkup! It’s a great way to get a monthly challenge and continue to improve on my photography skills. I’ve been really burned out on photography lately, but this inspired me to take my camera out for *fun* for the first time in over a year (in my non-quilting life, I’m a wedding photographer).
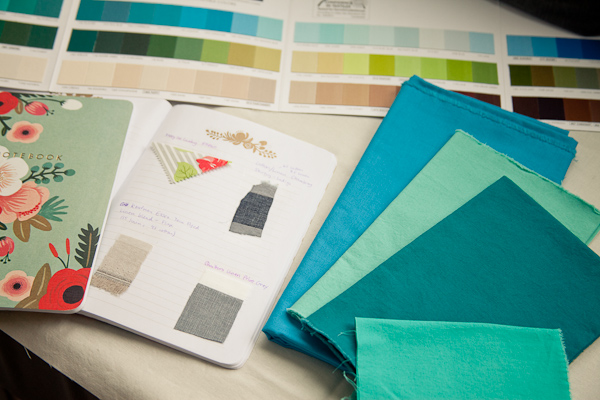
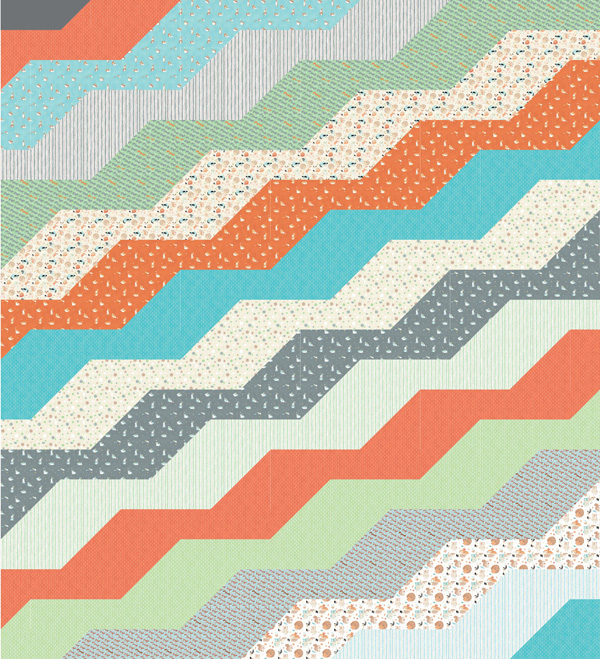
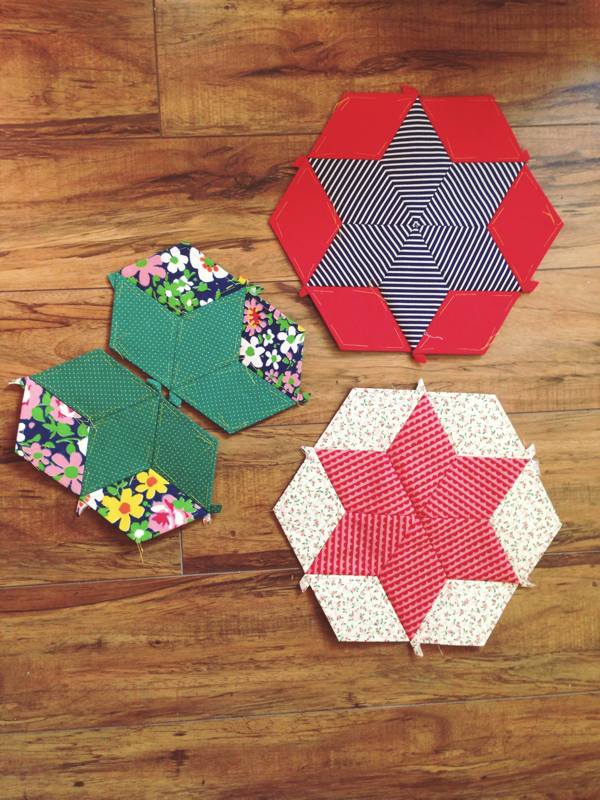
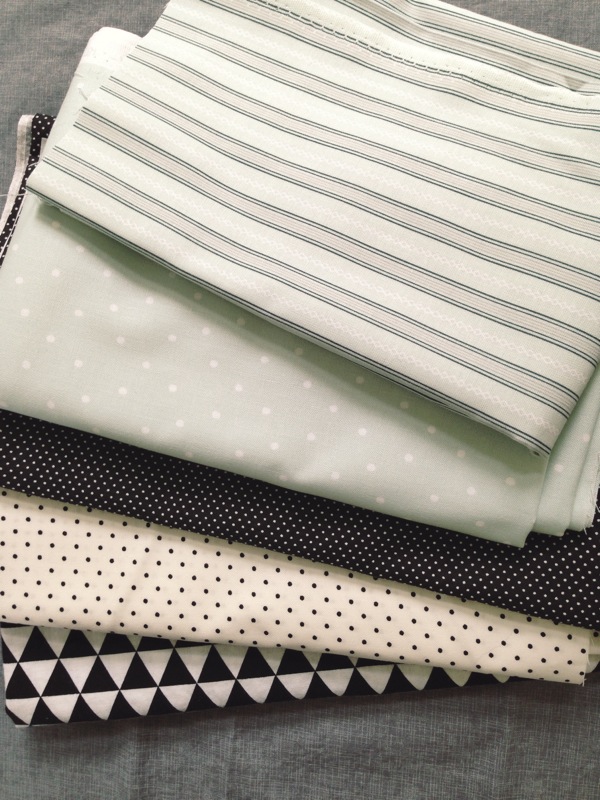
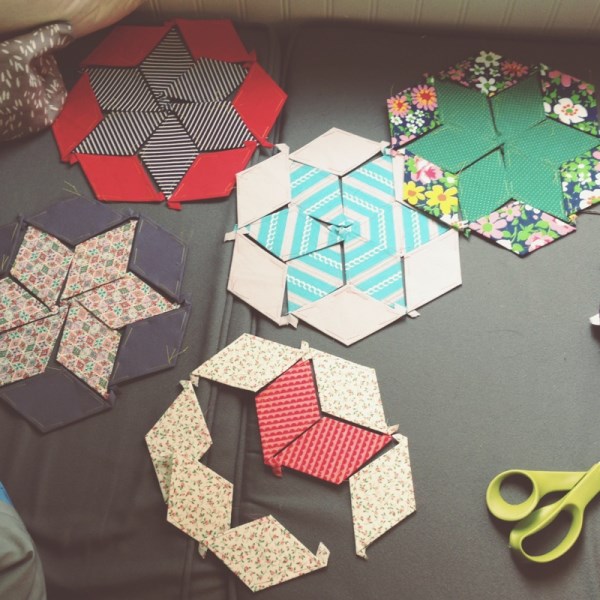
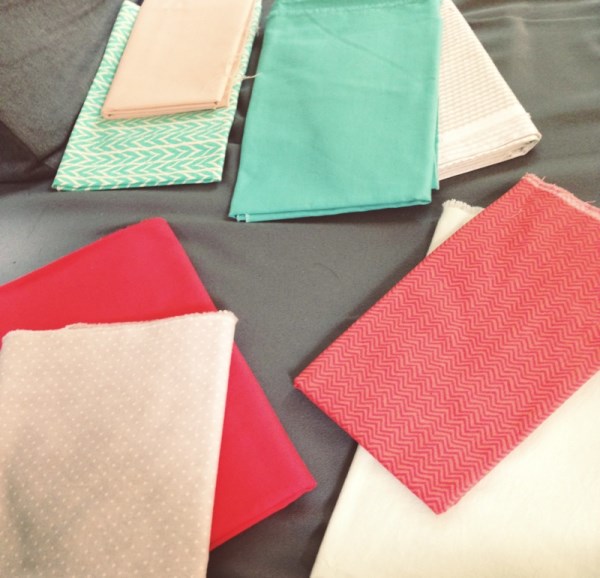
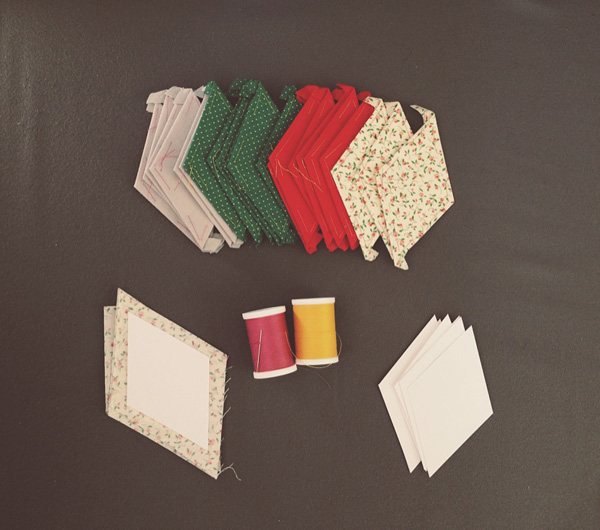
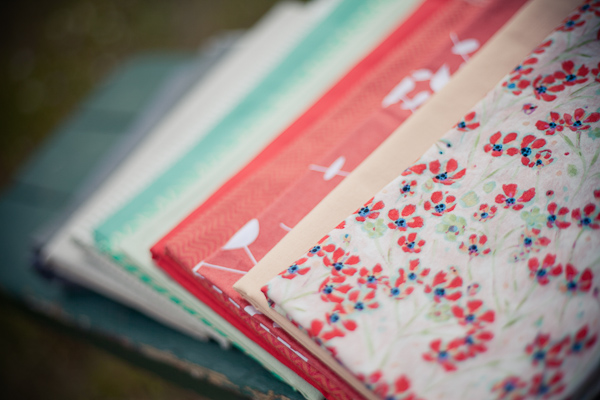
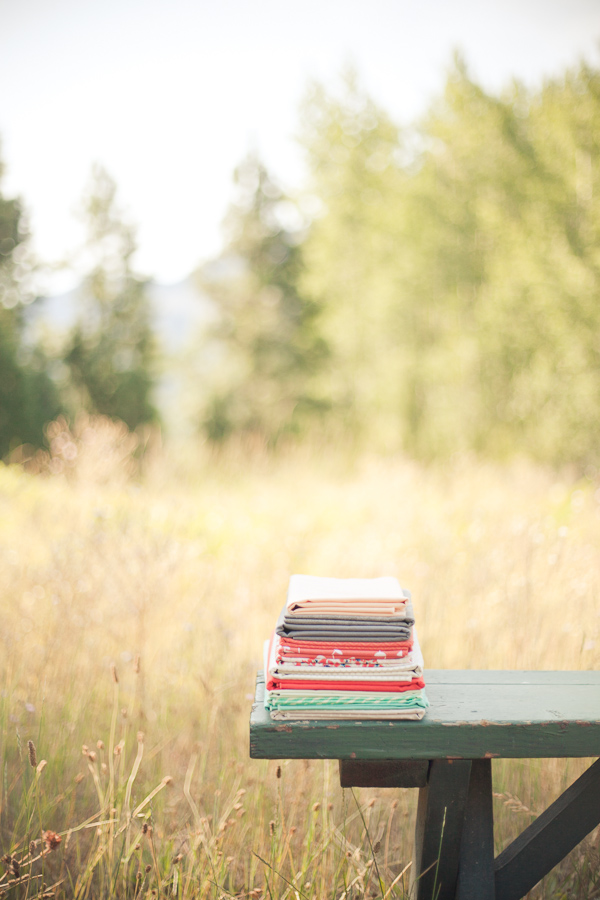
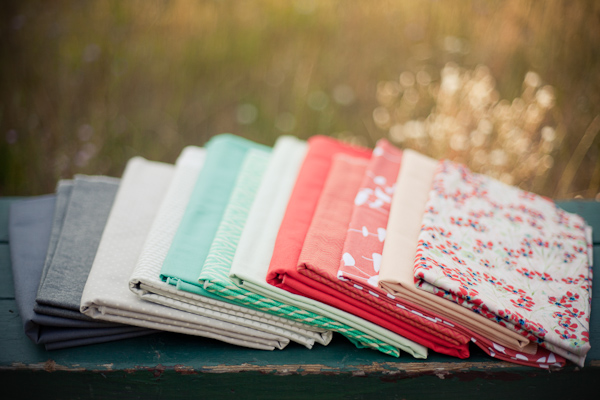
I can’t think of a better morning than taking some fabric photos. This is my pull for my picnic game quilt. Coral, mint, and grey hanging out together outside= perfection.

fabric is sooo much friendlier than bridezillas ;) Just kidding to my brides out there. You are all fab.
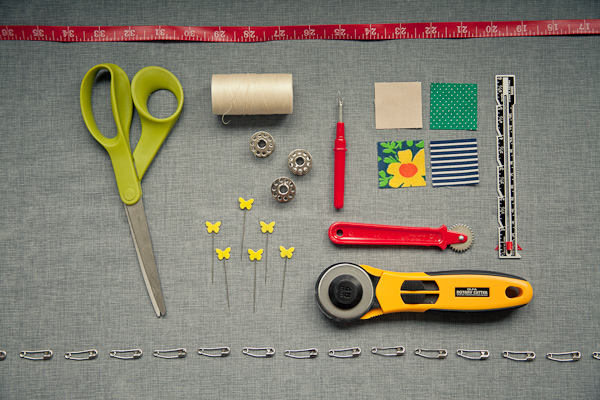
All of these were shot with my Canon dslr and a super cheap lens. I’ll talk a little more about it below. You don’t need super expensive equipment to take great photos! Even an iphone or point and shoot can take great photos if you know a few tricks (a future post perhaps?)
I edit every photo I put out (even ones from my iphone). Nothing fancy, but basic pushes in exposure, contrast, sharpness and white balance correction. I think I definitely lean towards a clean edit that looks like what my eye sees. But I am probably guilty of pushing things a little bit and sacrificing exact colors.
I thought it might be fun to share a little extra info for anyone who is beginning to get more serious about their photography. I know it won’t apply to everyone, but I hope it is at least interesting :)…
Depth of field is super important in photography. A few things can affect this, including how far away you are from your background. But as far as camera settings go, this is controlled by your Aperture settings. It will help you get that nice blurred background you see in professional photos and will elevate your photo from “nice shapshot” to “daaaaaang”. Here is an example of identical photos with different aperatures.
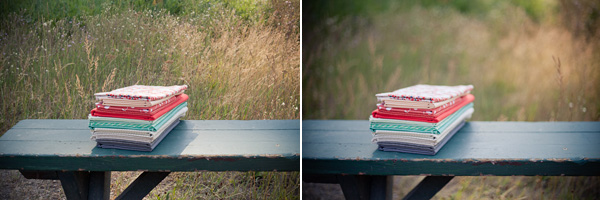
Everyone has different tastes but I much prefer the photo on the right. Yummy blurry background goodness, yes!? This is achieved with a wide open aperture. This is the lowest number (called f-stop) on your aperture setting. If what I just said made no sense, check out this post; it has a great explanation of the basics and where you see the settings on the camera.
Below is an example of the same photo at a bunch of different apertures. It is a great exercise in getting your manual settings correct when you are learning to use your camera. I put the aperture (f-stop) number next to each for reference.

Experiment with different apertures and what feels best for you. If you have a wide open aperture, it can hurt the photo quality slightly and you might have a harder time getting tack sharp images. So the rule of thumb is go to up a stop or two (increase the aperture to the next number) from the lowest. That being said I prefer to go as wide open as possible… always :)
If you have a Canon dslr, let me introduce you to your new best friend, the nifty fifty. All of these photos were shot with it. If you, too, crave that ultra blurred background, this is the cheapest way to get there. Disclaimer: this is a difficult lens to get used to. I almost threw it away when I first got it. Expect a ton of not-in-focus pictures at first. But if you are willing to put in some practice and careful studying, it is the cheapest way to get this look (and I’m always willing to put some work in for more fabric money ;))
Hopefully that wasn’t too confusing or technical. I’d be happy to answer any of your photography/camera related questions. As a newbie quilter I don’t have much to offer the quilting community in terms of expertise, so hopefully I can make a little contribution with what I do know :)